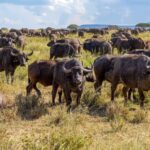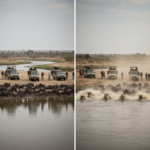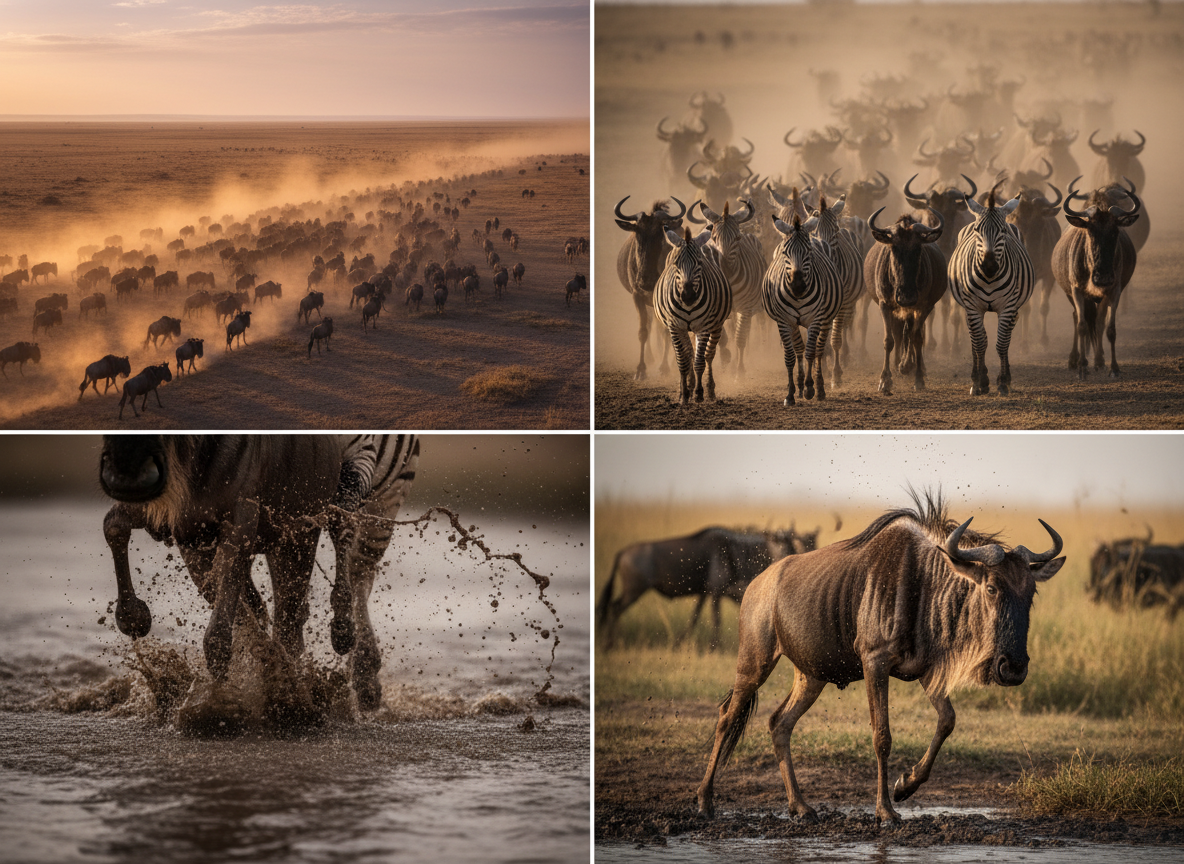
The Great Migration is genuinely difficult to photograph well.
The scale is enormous. The dust is heavy and constant in the dry season. Light changes fast at the crossing zones. River crossings can begin without warning and end before you have confirmed your settings. Good wildebeest migration photography in Kenya starts with planning, not luck.
This guide covers timing, gear, vehicle setup, guide strategy, and what to look for beyond the obvious crossing shot.
What Makes Migration Photography Different from Standard Safari Photography
A typical safari gives you multiple chances to photograph individual animals in reasonably controlled conditions. Migration photography adds scale, movement, and time pressure.
You are often working with:
- Heavy dust and heat shimmer that reduce sharpness and contrast
- Backlit herds where exposing for detail requires deliberate choices
- Fast action near river banks where settings need to be pre-configured
- Multiple vehicles that can affect sightlines and animal behavior
- Long, static waiting periods followed by sudden intense activity
- Animals at varying distances within the same frame
- Emotionally intense scenes that are hard to compose calmly
The best migration images usually come from preparation rather than reaction. You need the right lens already mounted, the correct seat in the vehicle, and a guide who understands photography priorities.
Best Months for Migration Photography
The core window for wildlife photography along the Mara River crossings is July through October. The best month depends on the type of image you are after.
| Month | Photography Strengths |
|---|---|
| July | First herds arriving; lower visitor pressure; fresher conditions |
| August | Peak crossing activity; high drama; also the most vehicles at popular points |
| September | Excellent light quality; crossings still active; crowds lighter than August |
| October | Warm dust tones; return movement southward; fewer visitors |
September consistently works well for photographers who want the balance of active herds, strong light, and manageable vehicle numbers at crossing points. August offers the highest crossing frequency but also the highest competition for viewing positions.
Camera Gear for Migration Photography
You do not need the most expensive kit, but you need adequate reach and redundancy.
Recommended kit list:
- Primary camera body with fast, reliable autofocus
- Backup camera body if possible (dust and heat are hard on equipment)
- 100 to 400mm or 200 to 500mm zoom lens as your primary migration lens
- 70 to 200mm for wider wildlife scenes and context shots
- 24 to 70mm for landscapes, camp life, and Maasai scenes
- Sufficient memory cards (shoot in bursts during crossings)
- Extra batteries (cold mornings drain batteries faster)
- Dust cover or dry bag for between drives
- Lens cloth and a blower for cleaning between shots
- A beanbag for vehicle support (essential for tack-sharp shots from a moving or stationary vehicle)
One tactical note: avoid changing lenses during a crossing. Dust will enter your camera body at the worst possible moment. If you can carry two bodies with different focal lengths already mounted, do so.
Camera Settings: Starting Points
There are no fixed perfect settings for migration photography, but these starting points work well across most conditions:
| Situation | Starting Point |
|---|---|
| Running wildebeest | Shutter speed 1/1600s or faster |
| River crossing splash | 1/2000s if light permits |
| Dusty backlit herds | Slight underexposure to protect highlights |
| Portraits at rest | f/4 to f/6.3 for background separation |
| Wide herd landscapes | f/8 to f/11 for depth |
| Low light at dawn | Raise ISO before losing shutter speed |
The single most important principle in migration photography: protect shutter speed first. A slightly noisy but sharp image at 1/1600s is always preferable to a technically clean but motion-blurred frame. Autofocus is only as useful as your shutter speed allows.
Vehicle Positioning at the River
For Mara River crossing photography, vehicle position determines a large part of what is possible in the frame. You need safe distance from the crossing area (so vehicles do not influence animal behavior), a clear sightline to the water, and a guide who positions without crowding the bank.
A photography-aware guide thinks about:
- Sun angle relative to the crossing point (front light in the morning, side light later)
- Dust direction (shooting into a dust cloud loses contrast and sharpness)
- Bank shape and height (lower banks give better angles down to the water)
- Vehicle spacing relative to other operators
- Escape routes for animals after the crossing
- Your lens reach and where the action is likely to concentrate
Responsible positioning also produces better images. When vehicles crowd the bank too closely, animals become distressed and the scene looks unnatural. A vehicle at an ethical distance, combined with a long lens, produces more powerful images because the crossing looks undisturbed.
Private Vehicle vs Shared Vehicle for Photography
A migration photography safari almost always works better with a private vehicle. Shared vehicles are not necessarily bad, but they create compromises that affect the final images.
Private vehicle advantages for photographers:
- You control how long you stay at a crossing or positioning spot
- You can reposition as light shifts without consulting other guests
- Equipment can be spread across seats without affecting others
- You can request pre-dawn departures without compromise
- You can slow down or stop for context shots without frustrating non-photographers
- Low-angle setups are possible where camps and conservancies permit
If photography is the primary purpose of your trip, prioritizing vehicle control over accommodation upgrades is usually the right call. A mid-range camp with a private vehicle produces better photography conditions than a luxury camp with a shared vehicle.
Building a Shot List Beyond the Crossing
The river crossing is the headline image, but the strongest migration photography stories include more than one frame type. Consider planning for:
- Herds stretching across the Mara plains to the horizon at golden hour
- Zebra columns mixed into wildebeest lines (the two species often travel together)
- Dust backlit by early morning sun rising behind a moving column
- Lion or cheetah watching migration corridors from a termite mound
- Crocodile eyes in the river before the crossing begins
- Hooves entering the water at the moment a crossing starts
- Animals scrambling up the muddy far bank after a crossing
- Guide portraits and camp life scenes that contextualize the experience
- Wide Maasai landscape and conservancy views to show the ecosystem scale
- Quiet post-crossing scenes of exhausted animals resting on the far bank
The migration as a photo story includes tension, arrival, action, aftermath, and context. All five elements are necessary to explain what you witnessed.
Common Mistakes
Shooting tight too early. Close-up action at the water’s edge is powerful, but wide images showing scale, river shape, the far bank, and the columns waiting behind often communicate the migration more effectively. Start wide, then compress.
Burning out on the first rush. River crossings can last 20 to 45 minutes, and the most striking moments sometimes happen after the initial wave. Exhausted animals climbing the far bank, an animal that was swept downstream and survived, a crocodile dragging its catch: these come later. Manage your card space and battery accordingly.
Moving too quickly in the vehicle. Calm body movement inside the vehicle reduces vibration, keeps the guide and other guests undistracted, and generally produces sharper images. Avoid standing suddenly or leaning over the roof edge.
Ignoring non-crossing scenes. A guide studying tracks in the early light, a vehicle at sunrise in the empty Mara, camp staff preparing a bush breakfast: these human and environmental scenes make a migration photo story richer and more publishable.
Ethics and Practical Care
Back up images every evening if possible. One copy on cards, a second on a portable drive. Dust can damage equipment internals; avoid opening camera bodies outside the vehicle or in camp areas with strong wind.
On the ethics side: no image is worth pressuring animals or guides. Wildlife photographers who push guides to position too close, stay beyond reserve exit times, or drive off-road where not permitted, create problems for every subsequent visitor. The Mara works because operators, guides, and photographers respect the rules. The crossings that happen every year, reliably, are partly a product of that respect.
Explorer Notes: Planning Your Photography Safari
Tell your operator about your kit before departure. Heavy telephoto lenses need secure mounting options. Large camera bags need storage space in the vehicle. Alert your operator early so vehicle and luggage planning reflects your actual setup.
Ask about conservancy access. Conservancies like Mara North, Olare Motorogi, and Naboisho allow off-road driving, which opens up angles that are impossible on reserve tracks. They also limit vehicle numbers, so crossing zones are less crowded.
Consider September over August. August has the highest crossing frequency, but September offers cleaner light, lower vehicle pressure, and herds that are often still very active. For photographers who are not chasing volume but quality, September is the stronger month.
Pair with a naturalist guide, not just a driver. The best migration photography comes from understanding the herd’s behavior, not just reacting to it. A guide who can tell you why the wildebeest are stacking on the bank, what the lead animal’s behavior suggests, and how much longer the wait is likely to be gives you time to prepare rather than scramble.
Conclusion
Wildebeest migration photography in Kenya rewards preparation and patience in equal measure. The gear needs to be right, the vehicle needs to be positioned correctly, and the guide needs to understand what you are trying to achieve. But the biggest variable is your willingness to wait without frustration and shoot without panic.
The crossing that makes the strongest image is almost never the first one of the morning.
Related Reading
- What to expect on a migration safari in Kenya
- Wildebeest migration facts: 20 things that reframe the experience
- The wildebeest migration route: the full circuit explained
- How migration trackers work and what they cannot tell you
- For photography-focused safari planning including private vehicle options and conservancy access, Trunktrails Safaris works with photographers across all kit levels.
If this guide has you ready to travel, a safari specialist can handle the route, camps, and logistics end to end.
Want to Book a Tour With Us?