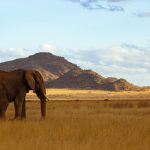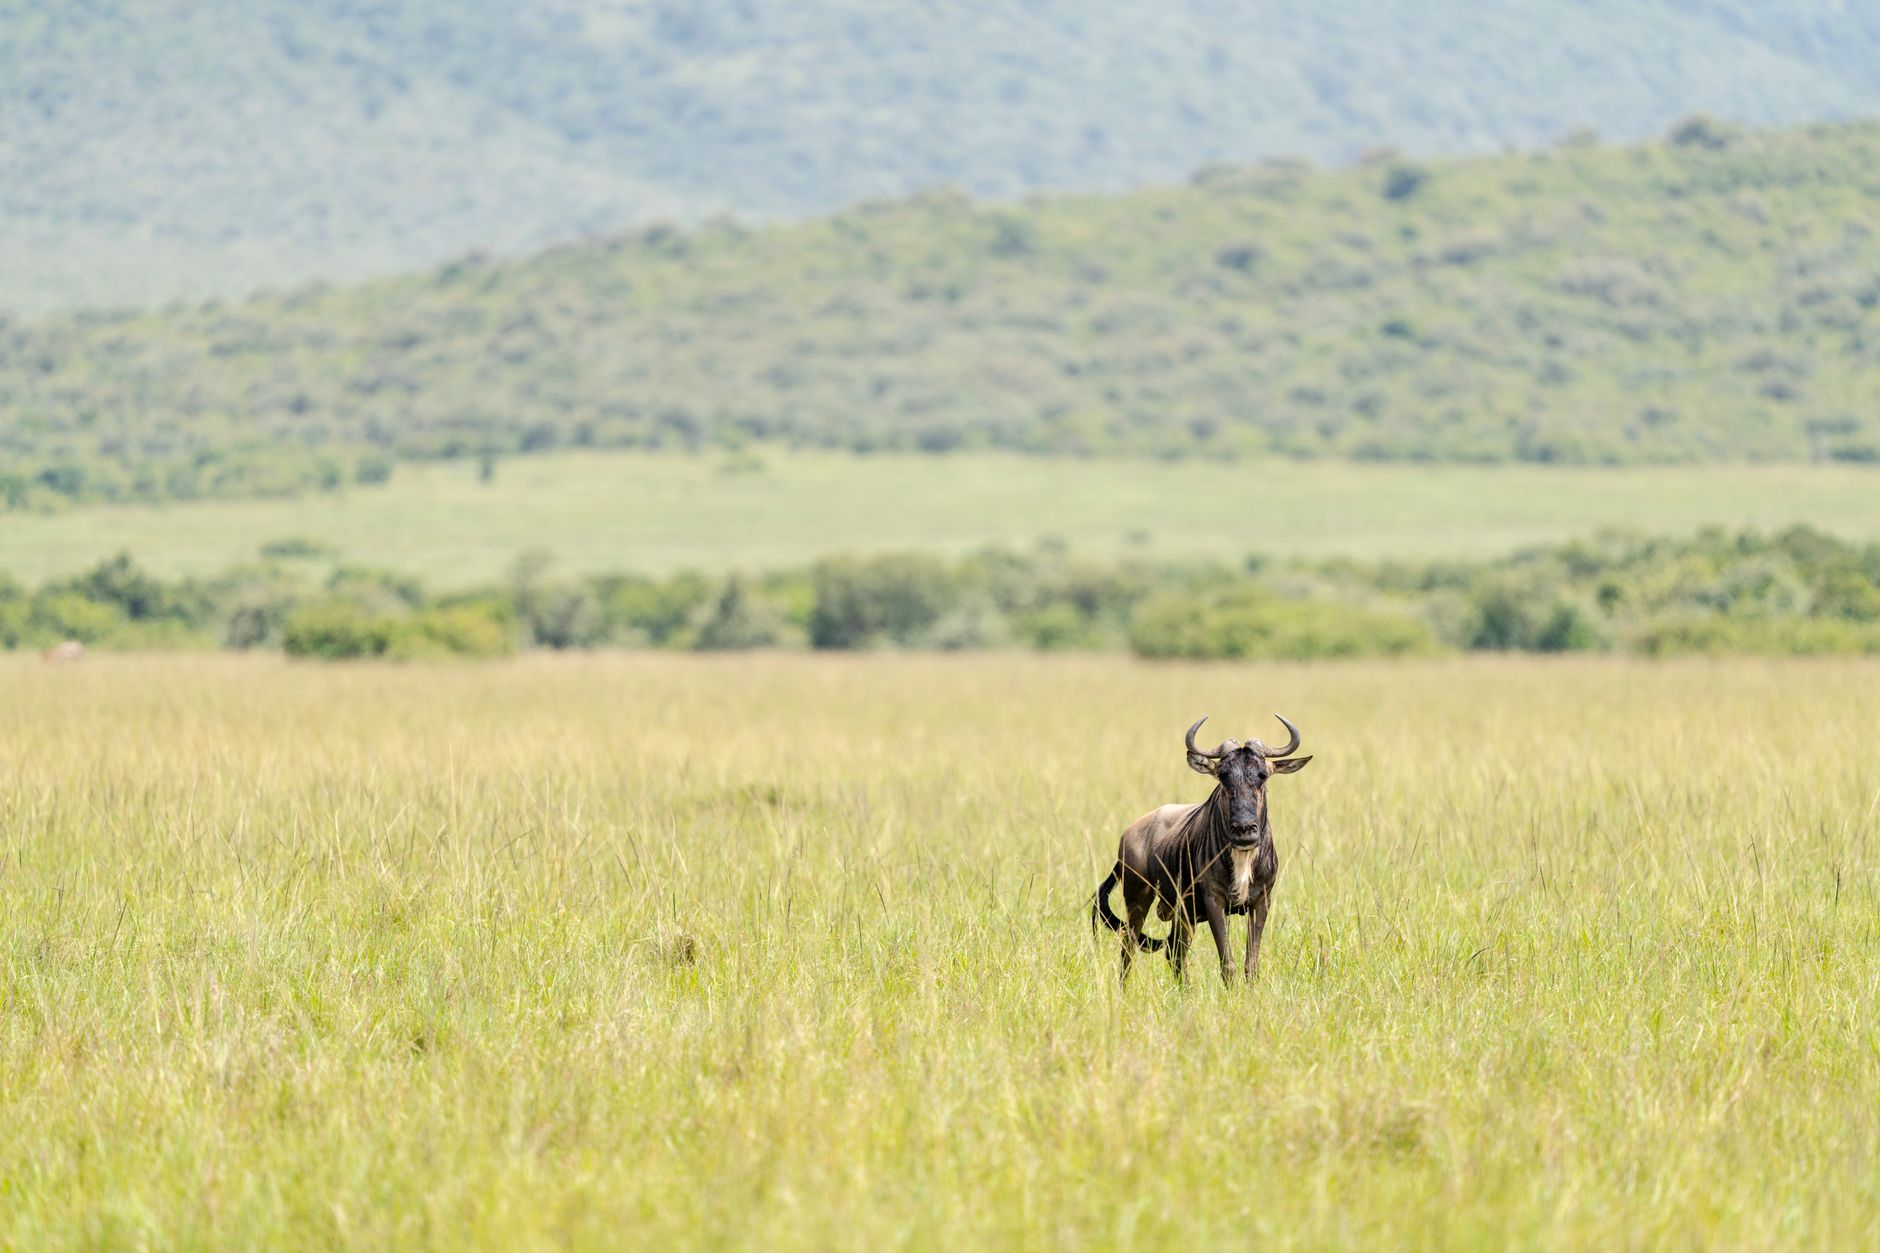
Good safari photos are made in the first seconds after you see an animal. That is why having the right masai mara safari photography settings in your memory matters more than any single camera body. This field sheet is built from the light, dust, and fast action of the Mara, not from generic advice.
What Are the Best Masai Mara Safari Photography Settings?
Start with shutter priority or manual mode, a minimum shutter speed of 1/1000s, continuous autofocus, high-speed burst mode, and Auto ISO. Use f/4 to f/5.6 for an isolated animal and f/8 for groups or landscapes. Raise the shutter speed to 1/1600 to 1/2000s when animals run, splash, or change direction quickly.
These masai mara safari photography settings are starting points, not rules. In deep shade, Auto ISO may climb quickly, and that is normal. The priority is stopping motion and keeping the eye sharp. You can clean up noise later, but you cannot bring back a blurry eye.
What Shutter Speed Do You Need for Wildlife in the Mara?
Use about 1/500 to 1/800s for a stationary lion or elephant, 1/1000 to 1/1600s for a hunting cheetah, and 1/2000s or faster for birds in flight. Choose f/4 to f/5.6 for a single subject and f/5.6 to f/8 for moving groups. Continuous autofocus and burst mode help when behavior changes without warning.
These are starting points. Adjust for how far away the animal is and how fast it moves.
| Subject | Shutter speed | Aperture | Notes |
|---|---|---|---|
| Stationary lion or elephant | 1/500 to 1/800s | f/4 to f/5.6 | Focus on the eye |
| Walking elephant or lion | 1/800 to 1/1600s | f/5.6 | Continuous autofocus |
| Hunting cheetah | 1/1000 to 1/1600s | f/5.6 | Use burst mode |
| Birds in flight | 1/2000s or faster | f/5.6 to f/8 | Track the bird |
| Group of moving wildebeest | 1/1250 to 1/2000s | f/5.6 to f/8 | Leave room ahead |
For a resting lion, 1/640s is usually enough. For a cheetah that jumps to its feet, you want 1/1600s before it runs. The Mara is full of these fast changes. Keep your thumb on the back-button focus and your shutter finger ready. Choosing the right wildlife photography shutter speed by subject is more useful than memorizing one number.
What Settings Do I Need for Photographing a Wildebeest Crossing?
For a wildebeest crossing, use 1/1250 to 1/2000s, continuous autofocus, high-speed bursts, and f/5.6 to f/8 to keep more than one animal sharp. Expose for the bright sky and pale water rather than the darker animals, and leave extra space ahead of movement. Arrive early because position and light matter as much as settings.
River crossings are chaotic. Dust and spray cover the animals, and the light can change in seconds. If you expose for the darker wildebeest, the sky will blow out. If you expose for the sky, the animals will be dark. In RAW, you can recover shadow detail, but not a blown white sky.
These river crossing photography settings also work at the Mara River tributaries in private conservancies, where you may have more room to choose an angle. Public and private areas differ in vehicle rules and crowd levels. The Masai Mara guide explains how wildlife density and conservancy rules differ from parks like Ol Pejeta.
What Lens and Autofocus Should You Bring for a Masai Mara Safari?
A 100 to 400mm zoom is the most versatile single lens, while a 400 to 600mm telephoto gives greater reach for distant wildlife. Carry a wide lens for animals in their grassland setting and landscapes. Use a beanbag on the vehicle, keep the camera at a low eye-level angle where safe, and avoid changing lenses in moving vehicles because dust can reach the sensor.
If you rent one lens, the 100 to 400mm gives you flexibility. If you own a 200 to 600mm, you can stay on distant cats while still zooming out for a herd. The wide lens matters more than photographers admit. A lone acacia tree with a giraffe below tells the Mara story better than a tight portrait.
Set your camera to continuous autofocus and use the smallest focus point that stays on the eye. On many cameras, animal eye detection helps, but it can still grab the wrong eye when grass is tall. The best lens for safari photography is the one you can hold steady and reach with, not the longest one in the shop. For route planning that affects your lens choices, see the Masai Mara guide.
When Is the Best Light for Masai Mara Photography?
The best light is usually the first 45 to 60 minutes after sunrise and the final 60 to 90 minutes before sunset. Use a wider aperture for soft backgrounds, watch for backlighting and silhouettes, and expose carefully for bright skies. Midday light is harsher but useful for action when faster shutter speeds and modest exposure compensation preserve detail.
In the Mara, the grass catches gold for another hour after sunrise, and animals often stay active. Overcast skies soften harsh light and are excellent for leopard portraits. If you are flexible with your travel dates, seasonal weather affects your options. See our guide on the best time to visit Masai Mara for timing ideas.
How Do You Handle Dust, Rain, and Low Light in the Mara?
In dust, protect the front element, avoid unnecessary lens changes, and use a faster shutter for moving subjects. In rain, keep spare batteries and cards protected and use a weather cover. For low-light drives or late scenes, open the aperture and raise ISO rather than allowing motion blur. A beanbag, multiple batteries, cleaning supplies, and regular backups are practical essentials.
Dust is the quiet enemy of a photo safari. Even a small cloud can reach your sensor when you change lenses. Carry a rocket blower and a lens cloth. Rain can come without warning, especially in the green season. If you plan to shoot in a storm, the best time to visit Masai Mara guide covers rainy season timing and gear tips.
In heavy shade or storm light, wildlife photography ISO can go high on wet mornings. That is a better trade-off than a blurry shot.
What Are Common Questions About Masai Mara Safari Photography?
What camera settings should I use for wildlife photography in the Masai Mara?
Use a shutter speed of at least 1/1000s, continuous autofocus, burst mode, and Auto ISO as a reliable starting point. Choose f/4 to f/5.6 for a single animal and f/8 for groups, then increase shutter speed for running wildlife or birds.
What shutter speed is best for a Masai Mara safari?
Use 1/500 to 1/800s for calm or stationary animals and 1/1000 to 1/2000s for running wildlife, splashing water, or hunting scenes. Birds in flight often need 1/2000s or faster, especially when they cross the frame quickly.
What lens is best for Masai Mara photography?
A 100 to 400mm zoom is the most flexible choice for a vehicle safari because it handles changing distances quickly. A 400 to 600mm lens gives better reach for distant animals, while a wide lens captures landscapes and environmental wildlife portraits.
What ISO should I use for safari photography?
Use ISO 100 to 400 in bright daylight and raise it as light falls or when a fast shutter speed is essential. Auto ISO is practical in changing Mara conditions because it protects shutter speed while allowing the camera to adapt from shade to open grassland.
What settings do I need for photographing a wildebeest crossing?
Set 1/1250 to 1/2000s, continuous autofocus, high-speed burst mode, and approximately f/5.6 to f/8. Expose for the bright sky and water, frame wider than the immediate subject, and be ready for dust, splashes, sudden direction changes, and multiple animals entering the scene.
Which Safari Operator Should You Choose?
Choosing the right operator is as important as choosing the right lens. To compare field experience, vehicle setups, and conservancy access, compare safari operators at FindMySafari, Valley Safaris, or Trunktrails Safaris. Browse packages that match your photography goals before you decide.
Where Can You Find More Safari Planning Resources?
- Maasai Mara interactive map from SafariPure
- Masai Mara Great Migration guide from Trunktrails Safaris
- Interactive Maasai Mara map from Valley Safaris
- Camera advice for your first safari, on FindMySafari