Good safari photos come from good settings, not just good gear. A $4,000 camera on auto mode still blurs a running cheetah, while a $600 camera with the right shutter speed and a steady hand can produce a sharp, usable shot. This guide covers the settings that matter on a Kenya game drive: aperture, shutter speed, ISO, and autofocus. Each one shifts depending on where you are and what time of day it is.
Touring Insights does not sell tours or gear. This is a planning resource to help you get better photos on whatever safari you already have booked.
Why Auto Mode Fails on a Game Drive
Auto mode picks settings for average light. Safari light is rarely average. A lion under a shade tree at midday sits in deep shadow next to bright open grass, and your camera’s meter cannot decide which one matters. The result is often a washed-out sky or a black silhouette where the animal should be.
Shooting in aperture priority or full manual mode gives you control over that trade-off. It also lets you lock in a shutter speed fast enough to freeze motion, which auto mode will not prioritize unless you tell it to.
Aperture: Choosing Between Sharp Detail and Blurred Backgrounds
A wide aperture, something like f/4 to f/5.6, blurs the background and isolates your subject from distracting bush or vehicle tracks. This works well for single-animal portraits, close-up bird shots, and low light.
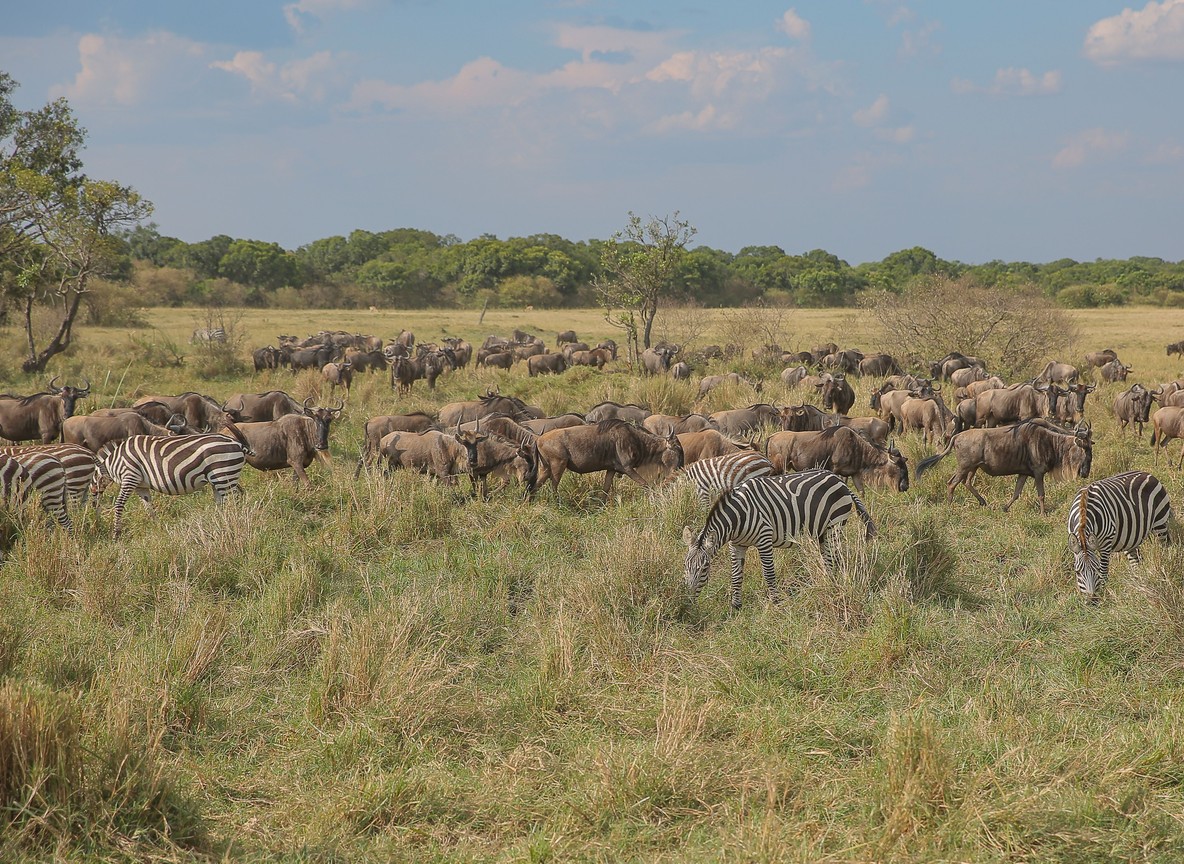
A narrower aperture, f/8 to f/11, keeps more of the scene in focus. Use it for group shots of a lion pride, a herd crossing open plains, or any scene where several animals sit at different distances from the camera. Below is a quick reference for common safari scenes.
| Scene | Recommended aperture | Why |
|---|---|---|
| Single animal portrait, close range | f/4-f/5.6 | Blurs background, isolates subject |
| Lion pride or herd, multiple depths | f/8-f/11 | Keeps more of the group sharp |
| Landscape with wildlife in frame | f/8-f/16 | Sharp foreground to background |
| Low light, dawn or dusk | f/2.8-f/4 (if lens allows) | Lets in more light without raising ISO too far |
| Bird in flight | f/5.6-f/8 | Balances subject isolation with enough depth for movement |
Shutter Speed: Freezing Motion at the Mara River and Beyond
Shutter speed is the setting most likely to save or ruin a wildlife shot. A stationary animal like a resting leopard can be shot at 1/250 second, but a galloping zebra or a hunting cheetah needs 1/2000 second or faster to freeze the legs without blur.
The Mara River crossings during the wildebeest migration are the hardest test of this rule. Wildebeest and zebra move fast and unpredictably, and a slow shutter turns a dramatic crossing into a smear. Set a minimum of 1/2000 second before you arrive at a crossing point, and raise it to 1/3200 second if the animals are sprinting.
Birds in flight need similarly fast shutter speeds, typically 1/1600 second or faster, since wingbeats move quicker than most mammal strides.
| Subject or scene | Minimum shutter speed | Notes |
|---|---|---|
| Resting or grazing animal | 1/250 sec | Handheld from a stopped vehicle is fine |
| Walking animal | 1/500-1/1000 sec | Covers most casual movement |
| Running animal (chase, migration crossing) | 1/2000-1/3200 sec | Essential at Mara River crossing points |
| Bird in flight | 1/1600-1/2500 sec | Faster for smaller, quicker birds |
| Vehicle-mounted, engine running | Add one stop faster | Engine vibration blurs slow shutter shots |
ISO: Managing Kenya’s Light From Dawn to Golden Hour
Most Kenya game drives start before sunrise, when light is weak, and end near dusk, when it fades fast. Both windows also happen to produce the best wildlife activity and the most flattering light, so you need an ISO strategy rather than a fixed number.
Keep ISO between 100 and 400 in full daylight, roughly 9am to 4pm, when light is strong enough to allow a fast shutter without noise. Push ISO to 800-1600 during the dawn and dusk windows, generally before 7am and after 5:30pm depending on season, to keep shutter speed fast enough for moving subjects. Modern mirrorless cameras handle ISO 3200 reasonably well if you need it for a dark, fast-moving scene like a nocturnal drive at a conservancy that permits night viewing.
Dust adds a second complication. Fine red dust on tracks in the Maasai Mara and Amboseli scatters light and can trick your meter into underexposing. Check your histogram, not just the screen preview, after your first few shots each morning.
Autofocus and Drive Mode Settings for Fast Action
Continuous autofocus, often labeled AF-C or AI Servo depending on the camera brand, tracks a moving subject and keeps refocusing as distance changes. Use it for any animal in motion. Switch to single-shot autofocus only for stationary subjects like a sleeping lion or a portrait of a Samburu elephant standing still.
Set your drive mode to continuous high burst for action sequences. A cheetah hunt or a river crossing happens in seconds, and a single frame rarely captures the best moment. Burst shooting at 8-10 frames per second gives you a much better chance of catching the peak of the action, whether that is a leap, a splash, or a mid-stride pose.
Camera Settings by Park: Light and Logistics Compared
Light quality, terrain, and access logistics differ enough between Kenya’s major parks that your settings approach should shift with location. The table below combines practical camera notes with real trip-planning numbers.
| Park or reserve | Size (km²) | Flight time from Wilson Airport | Drive time from Nairobi | Non-resident park fee (indicative, per day) | Best photography window |
|---|---|---|---|---|---|
| Maasai Mara National Reserve | 1,510 km2 | approx. 45 min to Musiara or Keekorok airstrip | approx. 5-6 hours by road | approx. $80/day | 6:30-8:30am and 4:30-6:30pm |
| Amboseli National Park | 392 km2 | approx. 35 min to Amboseli airstrip | approx. 4 hours via Namanga road | approx. $60/day | Sunrise, before cloud builds around Kilimanjaro |
| Samburu National Reserve | 165 km2 | approx. 50 min to Samburu airstrip | approx. 5-6 hours via Nanyuki | approx. $70/day | Early morning and the last 90 minutes before 6:30pm gate closing |
| Lake Nakuru National Park | 188 km2 | No scheduled flights, road access only | approx. 2.5-3 hours | approx. $60/day | First hour after the 6am gate opening |
Fees shift with park authority updates and season, so treat these as indicative ranges and confirm current rates with your camp or operator before travel.
Amboseli’s open, flat terrain and clear sightlines to Kilimanjaro reward a slightly narrower aperture to keep both elephant and mountain in focus. Samburu’s riverine bush and dappled light under doum palms often calls for higher ISO even at midday, since shade breaks up the light unevenly. The Mara’s wide grassland light is the most forgiving for beginners, but its river crossings demand the fastest shutter speeds on this list.
Explorer Notes
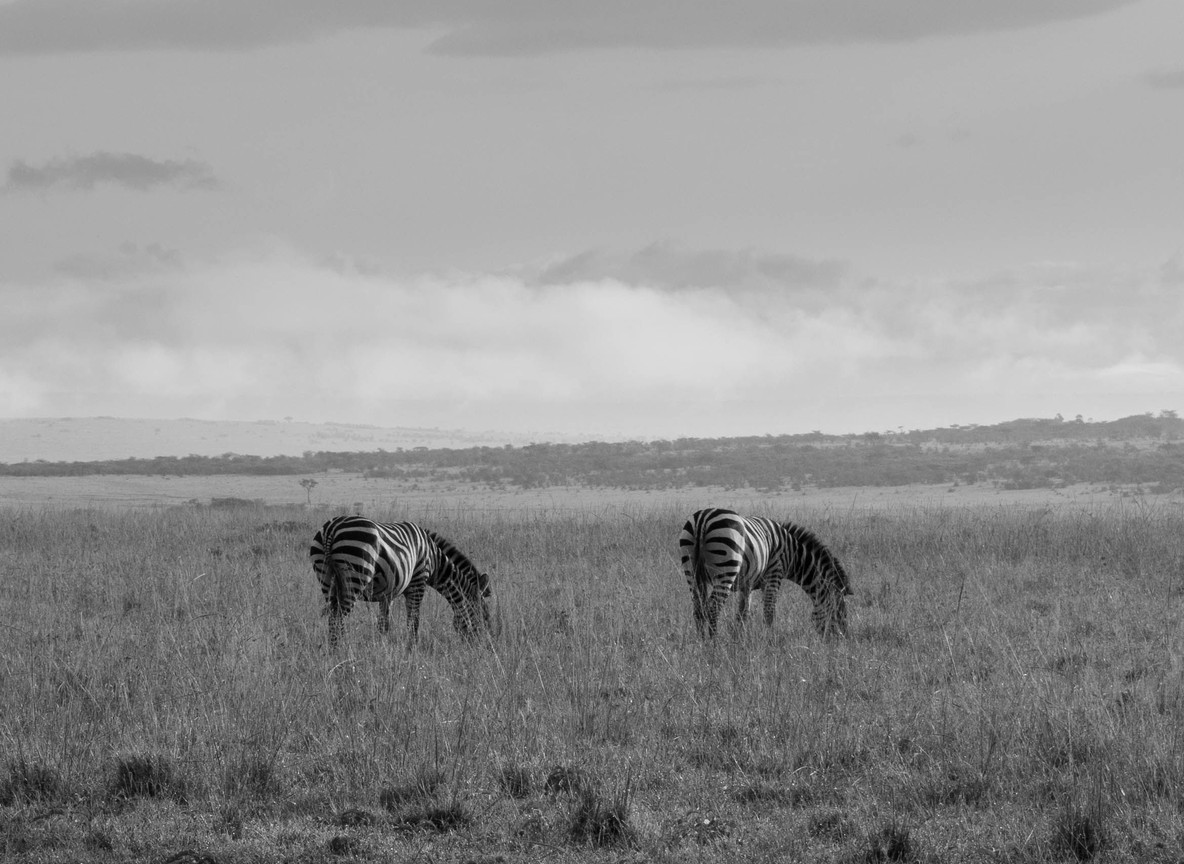
Guides at camps near the Mara Triangle often position the vehicle with the sun behind you for the first hour of light. Ask your guide directly if you want backlit or rim-lit shots instead. A quick request usually gets a different angle without disrupting the group’s sighting.
Bean bags beat tripods on a moving vehicle. A tripod is nearly unusable in a bouncing Land Cruiser, but a simple bean bag rested on the window frame steadies a long lens far better than handholding alone.
Battery drain speeds up in the cold pre-dawn air common on Mara and Laikipia game drives. Keep a spare battery in an inside jacket pocket rather than your camera bag, since body heat keeps it performing better through a long morning drive.
Frequently Asked Questions
What is the single most important camera setting for safari photography? Shutter speed. A blurred subject ruins a photo regardless of how well-chosen the aperture or ISO were, so set your minimum shutter speed first and adjust the rest around it.
Should I shoot in manual mode or aperture priority on safari? Aperture priority works well for most travelers, since it lets the camera handle ISO while you control depth of field. Switch to full manual for fast-changing scenes like a river crossing where you need to lock shutter speed regardless of light shifts.
What ISO should I use at dawn on a Kenya game drive? Start around ISO 800-1600 in the first hour after sunrise, then lower it toward ISO 100-400 as the light strengthens through mid-morning.
Do I need a full-frame camera for good safari photos? No. A crop-sensor mirrorless or DSLR with a 300mm-equivalent lens produces strong results if your settings are right. Sensor size matters less than shutter speed and focus accuracy for wildlife work.
Are camera settings different at Amboseli versus the Maasai Mara? Yes. Amboseli’s flat, open terrain and Kilimanjaro backdrop favor a narrower aperture for depth, while the Mara’s fast-moving river crossings demand faster shutter speeds above 1/2000 second.
If you want these settings tested against a real itinerary, our Tour Packages page lists Mara, Amboseli, and Samburu routes. Each one builds in enough time at a sighting for photographers to work the light, not just drive past it.
What to Read Next
- Building a kit before you go? See our Safari Camera Gear guide with real kit lists from $500 to $5000.
- Planning a stay built around photography access? Read our Porini Camps photography guide for Amboseli and the Mara.
- Timing a photography trip around the crossings? Read our Wildebeest Migration Photography Safari guide.