Serengeti Safari Camera Lens: 3 Focal Lengths That Matter
Choosing a serengeti safari camera lens comes down to one question most camera guides never ask: how far will your vehicle actually sit from the animal in front of you? That distance changes depending on which side of the ecosystem you’re driving in, and it’s the detail generic buying guides skip entirely. Here are eight decisions worth making before you pack.
1. Set Your Serengeti Safari Camera Lens Minimum at 400mm
For most Serengeti sightings, 400mm on a full-frame body, or roughly 300mm on a crop-sensor body, is the practical minimum. Guides typically keep vehicles 20 to 50 meters from wildlife for safety and to follow park rules. Shorter lenses work fine for elephants or herds near the road. Cats resting in shade, or a migration crossing on the far bank of the river, need the extra reach.
2. Pick a 100-400mm or 150-600mm as Your Everyday Zoom
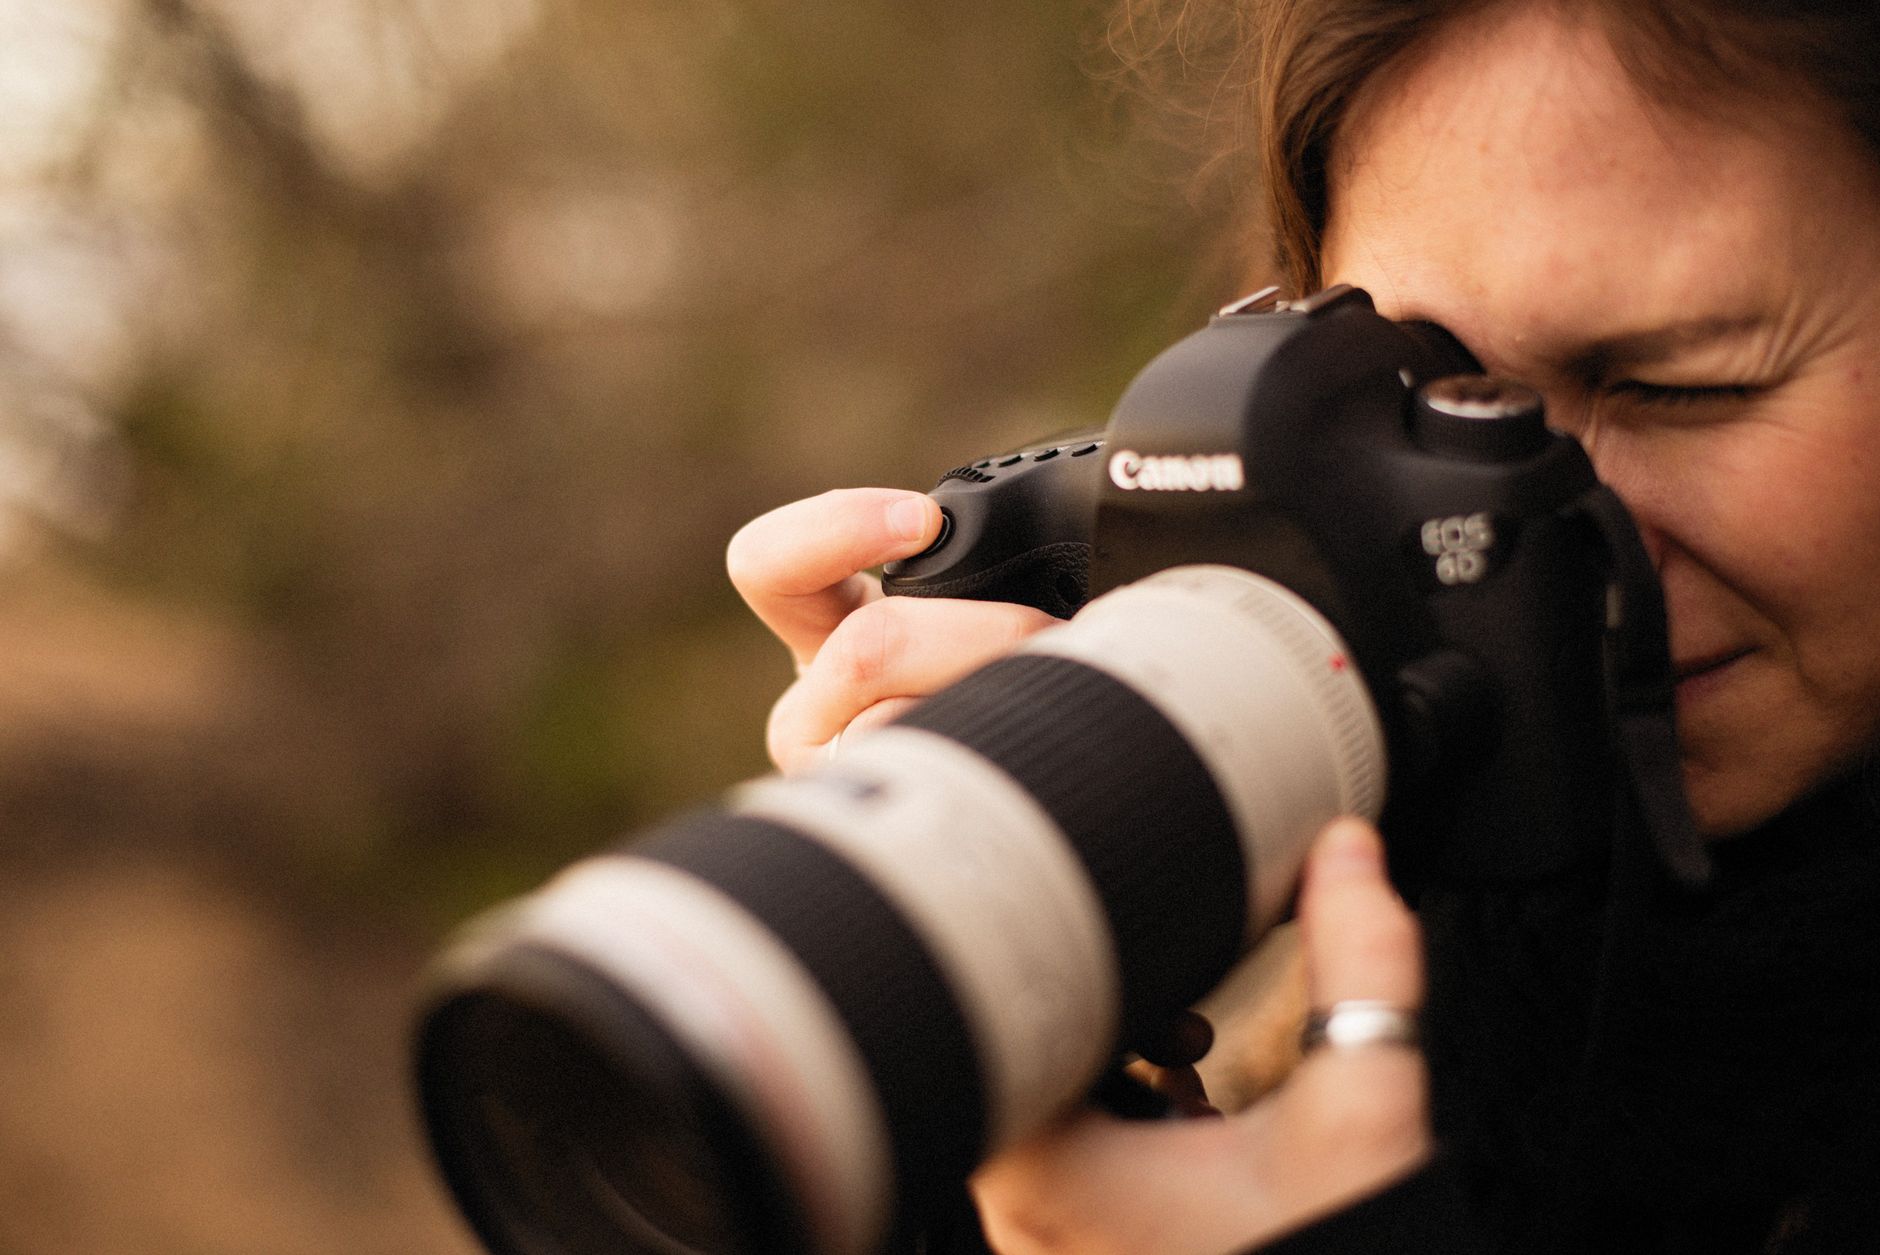
A 100-400mm or 150-600mm zoom is the best all-around lens for a Serengeti safari. It covers close encounters and distant subjects without swapping glass mid-drive. Budget shooters can get solid results starting around $400 to $500 with Tamron or Sigma equivalents. Photographers who want faster autofocus and sharper results should plan on $1,500 to $2,500 for name-brand versions. This single zoom, more than any prime, is what most people mean when they ask about the best lens for an African safari.
3. Pack a Wide-Angle Lens Too
Yes, bring a 16-35mm or 24-70mm wide-angle alongside your telephoto. It captures wildlife within its landscape, dramatic dawn and dusk skies, and migration herds too large to fit in a zoomed-in frame. A long lens simply cannot cover those moments, and you will regret leaving it at home the first time a lion walks past your vehicle at close range.
4. Decide Between One Lens and Two Camera Bodies
A second camera body with a wide-angle lens already attached beats swapping lenses mid-drive. Changing glass in an open or pop-top vehicle lets dust reach the sensor. If a second body isn’t in the budget, prioritize one versatile telephoto lens for safari use, such as a 100-400mm, over carrying several primes you’ll rarely switch between fast enough in the moment.
5. Stabilize Your Lens Inside the Vehicle
A bean bag draped over the window frame or roof hatch stabilizes a long lens far better than a tripod, which rarely fits in a safari vehicle’s footwell. Rest the lens barrel, not the camera body, on the bag. Ask your driver to switch off the engine during shots when possible, since idling adds vibration you’ll notice at long focal lengths.
6. Protect Your Lens From Serengeti-Mara Dust
Fine dust from dry-season game drives works into zoom rings and focus motors within days. Keep a rain cover or lens wrap on whenever the vehicle is moving, and avoid changing lenses in open air. Carry a blower and microfiber cloth for daily cleaning rather than wiping dust off with a dry cloth, which can scratch the coating. Review the Serengeti safari packing rules before you fly, since some plastic cases and covers face restrictions at the border.
7. Rent Instead of Buy for a One-Time Trip
Renting a 100-400mm or longer telephoto is the better value for most travelers on a single trip. Book gear at least a month ahead, since long-lens availability tightens during the July to October migration season when demand peaks.
| Option | Indicative cost | Best for |
|---|---|---|
| Buy a 100-400mm zoom | $1,500-$2,500 | Photographers planning multiple trips |
| Buy a 150-600mm zoom | $1,000-$2,000 | Budget buyers who want extra reach |
| Rent a long telephoto for one week | $150-$300 | One-time safari travelers |
8. Know How Serengeti and Masai Mara Lens Needs Differ
The Serengeti and Masai Mara are one connected ecosystem split by the Kenya-Tanzania border. Vehicle rules differ between the two sides in a way that changes what’s in your camera bag. Kenya’s private conservancies, such as Mara Naboisho or Olare Motorogi, allow off-road driving that lets guides move closer to a sighting. The Serengeti’s national park roads keep vehicles farther back, which favors a longer lens. If your trip covers both sides, pack for the longer distances and treat the closer Mara encounters as a bonus. Whichever side you’re on, following wildlife sighting etiquette rules matters more than any piece of safari photography gear, since guides will not break distance rules for a better shot. If you’re still mapping out routes, two guides can help. Our notes on rainy-day planning in the Masai Mara and the full Masai Mara guide cover how conservancy access affects more than just photography.
Your Next Step
Before you buy or rent anything, confirm with your operator how much of your itinerary sits inside Kenya’s off-road conservancies versus Tanzania’s national park roads. That single detail decides whether you lean toward the 400mm end or the 600mm end of your zoom. Once your route is set, compare safari operators such as FindMySafari, Valley Safaris, or Trunktrails Safaris to browse packages that match the driving style your camera bag is built for. Check touringinsights.com for more planning guides on the Serengeti-Mara ecosystem.
More safari planning resources
- Maasai Mara interactive map from SafariPure
- Masai Mara Great Migration guide from Trunktrails Safaris
- Interactive Maasai Mara map from Valley Safaris
- Camera advice for your first safari, on FindMySafari