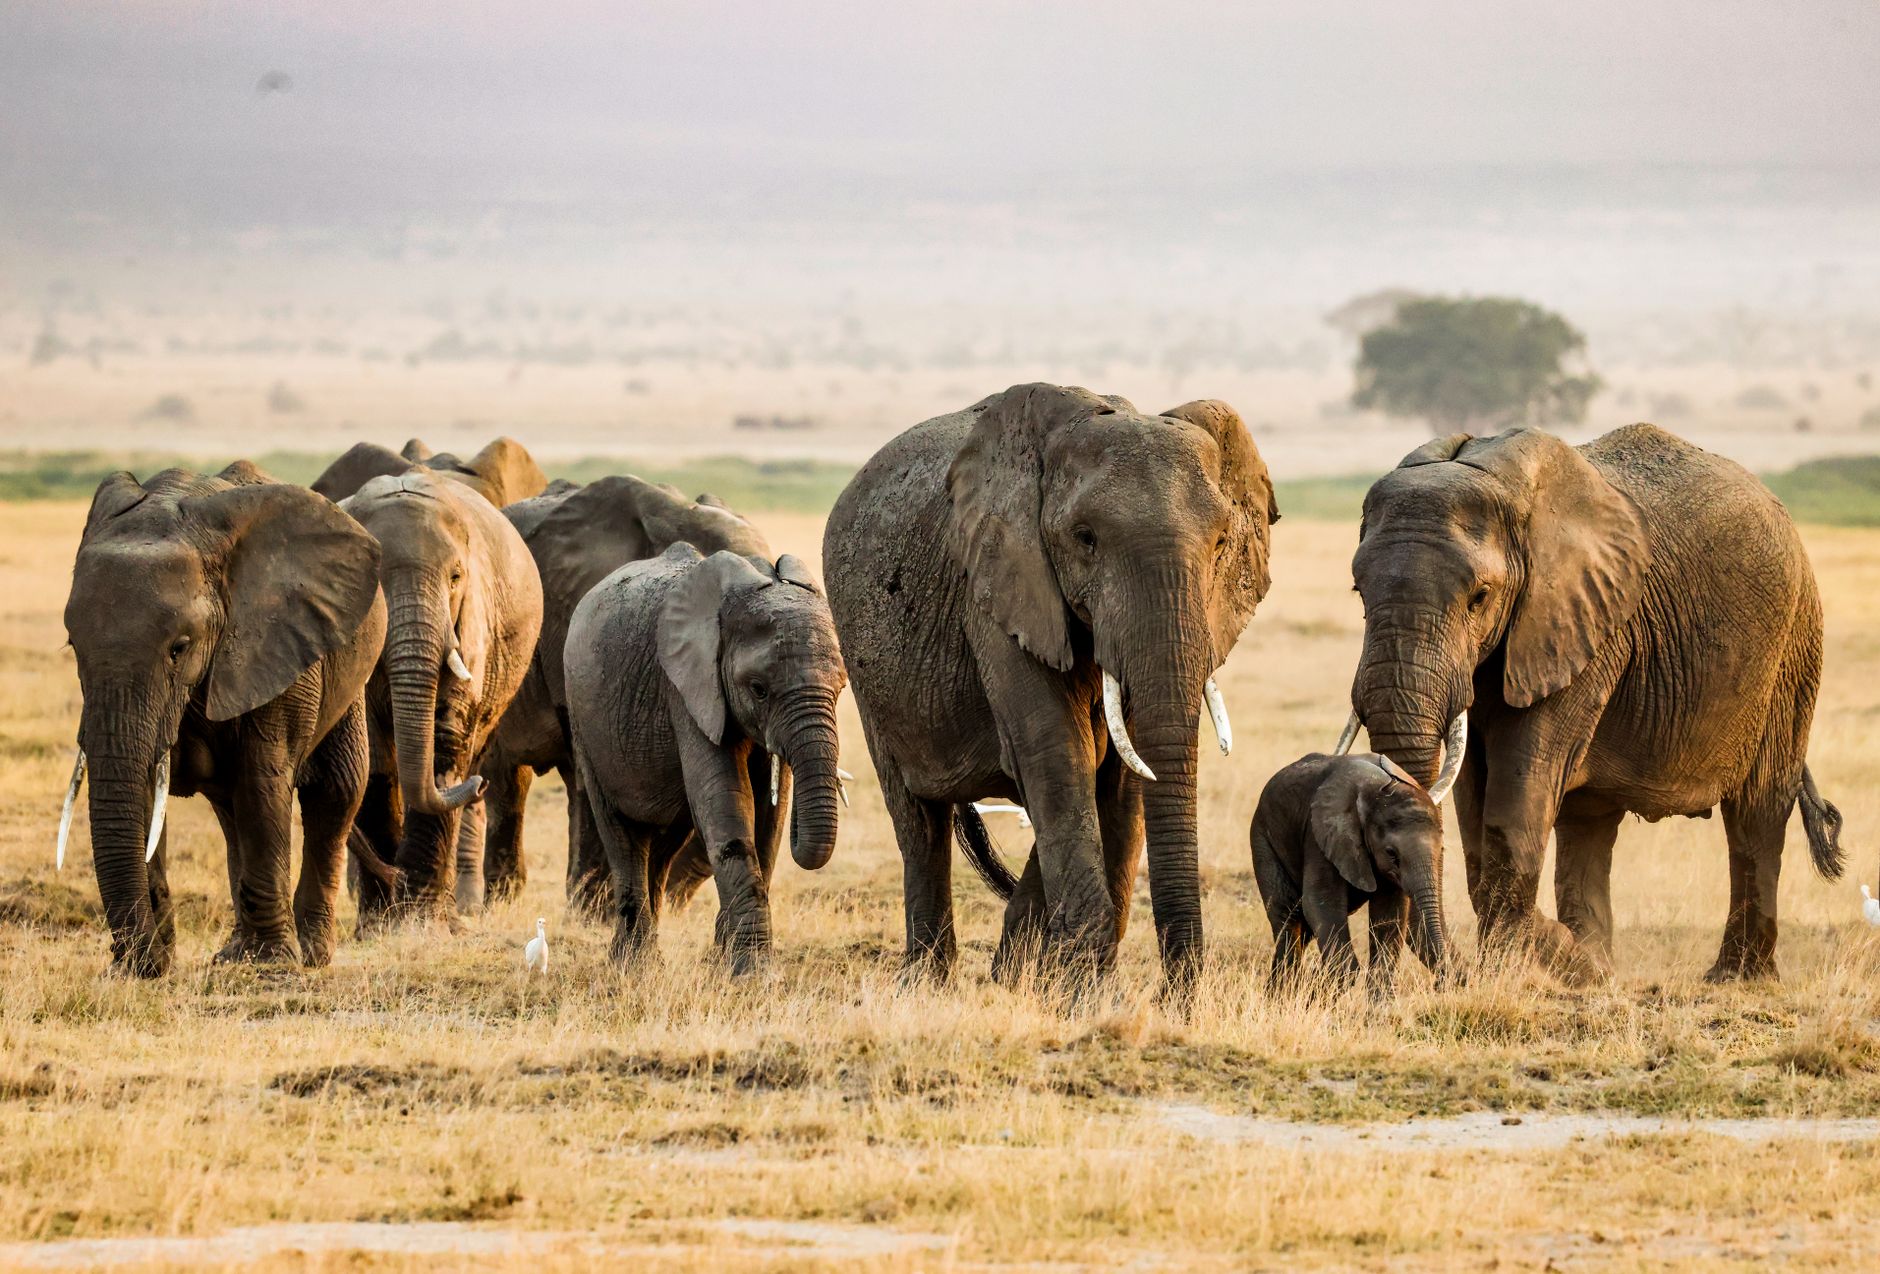
An Amboseli safari photography beanbag might sound like a small accessory. On a long day of elephant photography, it can be the difference between sharp images and a memory card full of soft frames. Amboseli is open country with dust, heat haze and long sightlines. You are usually shooting from a vehicle roof or window. A sturdy bag filled with rice or beans gives your lens a stable resting place. It takes up no real luggage space when empty. This post explains when a beanbag helps, how to use it, and how it compares with other support options.
Amboseli Safari Photography Beanbag: Do You Need One?
A beanbag is not essential, but it is the most useful support for long-lens photography from an Amboseli vehicle. It stabilizes the lens on a window ledge or roof opening without the bulk of a tripod, especially for elephants, birds and distant Kilimanjaro scenes. Confirm whether your operator supplies one before departure.
Think about the three angles you will use most:
- Pop-up roof. Most Amboseli vehicles have a raised roof. You cannot rest a 200-600mm lens on bare metal without vibration. A beanbag over the roof edge gives a soft, adjustable rest.
- Side window. When an elephant walks past, a window ledge can be too low or too hard. A beanbag lets you angle the lens up or down without scraping the lens barrel.
- Low side hatch or door. Some vehicles have a low-angle opening near the seat. A beanbag can turn that opening into a useful hide for ground-level elephant portraits, if the guide approves.
Before you decide what to pack, check Amboseli’s dry-season wildlife and best photography months so you plan for the conditions that suit your goals.
How to Use a Beanbag in an Amboseli Safari Vehicle
A beanbag only helps if you use it correctly. Here is a simple routine.
- Place the bag on the roof ledge or window sill before you bring the camera to your eye.
- Rest the lens barrel on the bag, not the camera body. The bag supports the heavy part of your kit.
- Keep your hands on the camera and leave a little room to tilt the lens. Do not press the lens hard into the bag. That can transfer vibration from the vehicle.
- Reposition the bag when you change sides. Drag it gently, then reset it before shooting again.
- Ask the driver to switch off the engine when you are stationary. Engine vibration can soften an otherwise sharp photo.
- Wait until the vehicle comes to a full stop before you lower the lens onto the bag. Moving vehicles and long telephoto lenses never mix well.
A common mistake is resting the camera body on the bag. That stresses the lens mount and makes framing harder. Let the lens barrel carry the weight.
Beanbag Versus Tripod, Monopod and Window Support
The best support depends on where you are sitting and what you are photographing.
- Beanbag. This is the best default for a shared or private safari vehicle. It is compact, adjustable and easy to move between sides.
- Monopod. A monopod can replace a beanbag at a side window when no ledge is available, or when you need extra height with a very long lens. It takes more effort to angle down toward low subjects.
- Tripod. A tripod is usually too restrictive inside a safari vehicle. It takes up space, slows you down, and most roof openings are not designed for one. Leave it at the lodge unless you are planning a dedicated hide session.
- Bare window ledge. In an emergency, a folded jacket on a window ledge can support your lens. It works, but it is less stable and less comfortable than a proper beanbag.
If you often want to stop for light or linger on a single elephant, your vehicle choice matters. Learn whether a private safari vehicle is worth the cost before you book.
Best Camera and Lens Setup for Amboseli Photography
Your camera body matters less than your lens support and your ability to adapt. A practical Amboseli kit looks like this:
- A versatile telephoto zoom. Lenses around 100-400mm or 200-600mm cover elephants, birds and distant predators. They give you flexibility without constant lens changes.
- A wide zoom. A 24-70mm or similar lens captures Kilimanjaro with foreground elephants, acacia trees or dust. Do not spend the whole trip at maximum zoom.
- A second camera body. Two bodies let you keep a wide lens and a long lens ready at the same time. That reduces lens changes and keeps dust out of the sensor.
- Cleaning and protection. Amboseli is dusty. Carry sensor-safe cleaning supplies, a lightweight rain cover for dusty winds, and spare batteries. Dust can drain autofocus performance and leave spots in your images.
- A beanbag shell. If your operator does not supply one, bring an empty shell. Fill it locally and pack it down before you fly home.
Best Light, Seasons and Subjects for Amboseli Photos
Great equipment is only half the story. Amboseli rewards photographers who work with the light.
- Shoot early and late. The first hours after sunrise and the last hours before sunset give softer light and weaker heat haze. Midday light flattens elephant skin texture and washes out Kilimanjaro snow.
- Watch Kilimanjaro visibility. January through March often offers clearer mountain views. Other months may have cloud, haze or rain. If the mountain is out, make it the center of a composition quickly.
- Use dust creatively. Backlit dust kicked up by elephants can turn a simple scene into a dramatic portrait. Wait for a dust cloud to catch the low sun, then shoot.
- Respect elephant behavior. Do not block a herd or force a vehicle into position. If an elephant blocks the road, know what to do if an elephant blocks the safari road. Distance and patience produce better images and safer drives.
- Adapt to the seasons. Dry months offer clearer visibility and more concentrated wildlife around water. Wet months can bring greener backgrounds and more migratory birds, but heat haze and mud are stronger trade-offs.
How to Choose, Fill and Pack a Safari Photography Beanbag
If you decide to bring your own, keep the process simple.
- Choose a compact, washable beanbag with a strap or clip. A bag around the size of a small cushion is easier to manage than a large one.
- Pack it empty. That saves space and avoids customs questions about food items.
- Fill it with rice or beans locally. Most camps and towns can supply a few kilograms. Ask your operator where to buy the filling.
- Keep the filled bag small and heavy enough to stay stable. A soft, overstuffed bag is harder to use than a firm, compact one.
- Empty the beanbag before you fly home. Rice and beans can be treated as agricultural products at customs, so remove the filling at the end of your trip.
- Ask your driver or guide to show you where the bag works best in each vehicle. Roof rails, window contours and hatch shapes vary between vehicles.
An Amboseli safari photography beanbag is a simple tool, but it pays off every time you line up an elephant portrait with Kilimanjaro behind it. Pack light, fill it locally, and let the vehicle become your tripod.
Ready to plan your Amboseli photography safari? Browse packages from Valley Safaris and Trunktrails Safaris to compare vehicle types, private guiding and included photography support. FindMySafari also lets you compare safari operators side by side before you commit to a date.
More safari planning resources
- Amboseli map and guide from SafariPure
- Amboseli National Park guide from Trunktrails Safaris
- Map of Amboseli from Valley Safaris
- Camera advice for your first safari, on FindMySafari